

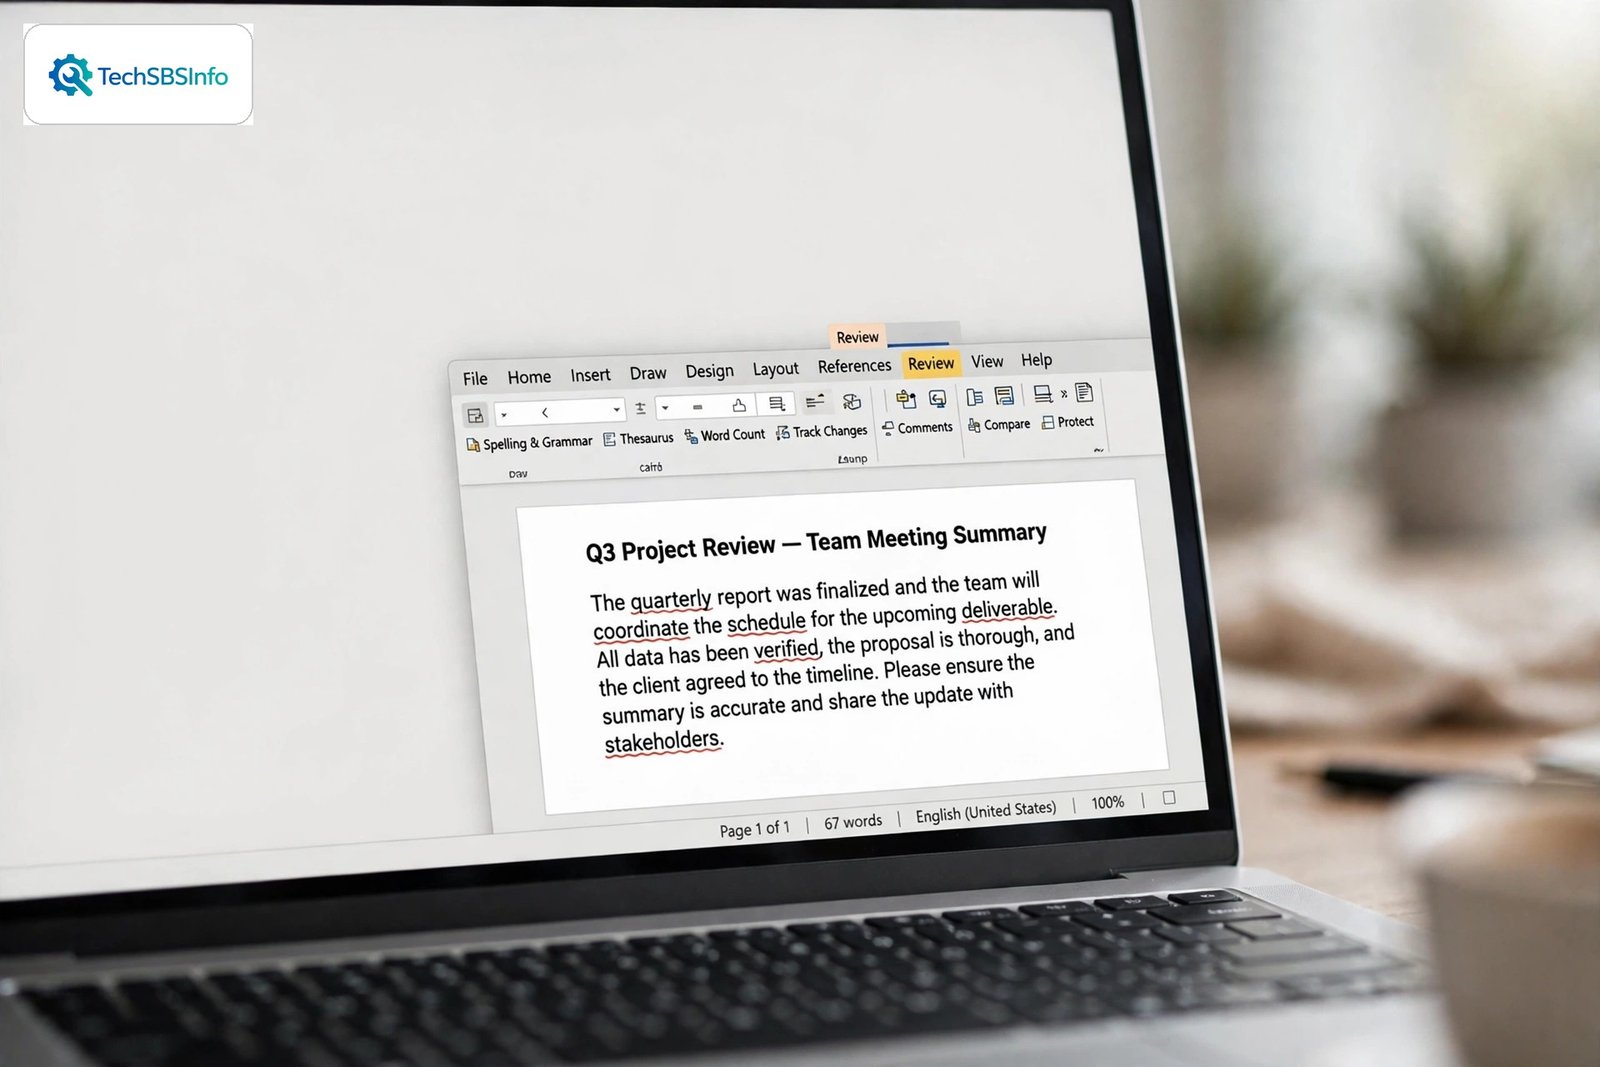
You type a perfectly good sentence in Word, and the microsoft word spell check language problem strikes: red wavy lines appear under words you know are spelled correctly. Or the opposite happens. Real spelling mistakes sail through with no underline at all, because Word is checking your English text with a French or Spanish dictionary.
This problem is almost always a language setting, not a broken spell checker. Word attaches a proofing language to every paragraph. When that language is wrong, or the right dictionary is missing, the checker either flags everything or checks nothing. The fix is usually a few clicks in the Review tab.
Below you will find nine fixes in order, from the quickest to the deepest. Work through them one by one. Most readers solve the microsoft word spell check language problem by Fix 3.
Table of Contents
- Quick Checks
- Diagnose the Problem
- Fix 1: Set the Correct Proofing Language for Your Text
- Fix 2: Clear the “Do Not Check Spelling or Grammar” Checkbox
- Fix 3: Turn Automatic Language Detection On or Off
- Fix 4: Turn On “Check Spelling as You Type” in Word Options
- Fix 5: Install the Right Language Pack to End the Microsoft Word Spell Check Language Problem
- Fix 6: Check Your Custom Dictionary for Wrongly Added Words
- Fix 7: Remove the “Do Not Check” Exceptions in Proofing Options
- Fix 8: Match Your Keyboard Language to Your Document Language
- Fix 9: Run a Full Manual Spell Check and Repair Office
- What to Avoid
- Frequently Asked Questions
- Conclusion
- Helpful Resources
Quick Checks
- Press F7 to run a manual spell check. If the checker opens but reports no issues on obviously wrong words, the proofing language is wrong.
- Select all text (Ctrl + A), then go to Review > Language > Set Proofing Language and look at which language is highlighted.
- Check the status bar at the bottom of Word. It shows the proofing language of the paragraph your cursor is in.
- Make sure Check spelling as you type is on under File > Options > Proofing.
- Try typing the same sentence in a brand-new blank document. If it checks fine there, the problem lives in the document’s language settings, not in Word itself.
Diagnose the Problem
| Symptom | Cause | Go to Fix |
|---|---|---|
| Correct words get red wavy underlines | Text is marked with the wrong proofing language | Fix 1 |
| Misspelled words are not flagged at all | “Do not check spelling or grammar” is turned on for the text | Fix 2 |
| Some paragraphs check fine, others do not | Mixed languages in the document, or automatic detection misfiring | Fix 3 |
| No red underlines appear anywhere, ever | “Check spelling as you type” is turned off | Fix 4 |
| Language shows “Proofing unavailable” | The proofing tools or language pack for that language are not installed | Fix 5 |
| One specific word is always flagged or never flagged | The word was added to, or is missing from, your custom dictionary | Fix 6 |
| Spell check skips whole sections silently | Exceptions for the document are hiding errors | Fix 7 |
| Words change language as you type | Keyboard input language does not match the document language | Fix 8 |
| Nothing above helped | Corrupt settings or a damaged Office installation | Fix 9 |
Fix 1: Set the Correct Proofing Language for Your Text
The most common cause is simple. The text is tagged with the wrong language, so Word checks it against the wrong dictionary.
- Select the text that is being flagged incorrectly. Press Ctrl + A to select the whole document.
- Go to the Review tab on the ribbon.
- In the Language group, click Language, then choose Set Proofing Language.
- In the dialog box, click the language you actually wrote in, for example English (United States).
- Click OK.
- Watch the red underlines. Correctly spelled words should stop being flagged right away.
- If your document mixes two languages, select each section separately and set its own proofing language.
- Pasting text from websites often brings in a foreign language tag. Select pasted text and set its language explicitly.
- Templates and documents received from other people may carry a different default language. Always check after opening a shared file.
Fix 2: Clear the “Do Not Check Spelling or Grammar” Checkbox
Word lets you exempt text from spell checking entirely. When this box is ticked, misspellings are never flagged, which looks exactly like a dead spell checker.
- Select the text that is not being checked (Ctrl + A for everything).
- Go to Review > Language > Set Proofing Language.
- Look at the checkbox labelled Do not check spelling or grammar.
- If it is ticked, or filled with a square (meaning some of the selection has it on), click it until it is completely empty.
- Click OK.
- Type a deliberate misspelling such as “teh” and confirm the red underline appears.
- Styles can carry this setting too. If only headings are skipped, right-click the style in the Styles pane, choose Modify, then Format > Language, and clear the same checkbox.
- This setting is stored per paragraph, so you must clear it on all affected text, not just one sentence.
- Copied text from PDFs and web pages sometimes arrives with this box ticked.
Fix 3: Turn Automatic Language Detection On or Off
Word can guess the language as you type. When it guesses wrong, you get the classic mixed result: some paragraphs flagged, others ignored.
- Select all text with Ctrl + A.
- Go to Review > Language > Set Proofing Language.
- To let Word detect languages itself, tick Detect language automatically, then click OK.
- If detection is already on and causing chaos, do the opposite: open the same dialog and untick Detect language automatically, then set the language manually as in Fix 1.
- Test by typing a few sentences and watching which language the status bar reports.
- Automatic detection works best in documents that genuinely mix languages, like a bilingual report.
- For a single-language document, turning detection off and setting the language by hand is more reliable.
- Detection needs enough text to guess from. Very short paragraphs are often misidentified, so set them manually.
Fix 4: Turn On “Check Spelling as You Type” in Word Options
If no red underlines appear anywhere, the live checking feature itself may be switched off. Word can still run a manual check with F7 while live checking stays off.
- Click File, then Options at the bottom of the left pane.
- In the Word Options dialog, choose Proofing on the left.
- Under When correcting spelling and grammar in Word, tick Check spelling as you type.
- Tick Mark grammar errors as you type if you want grammar checking too.
- Tick Check grammar with spelling so grammar is reviewed during manual checks.
- Click OK and return to your document. Live underlines should now appear.

- The options apply per copy of Word, so they can differ between your work and home computers.
- If the checkboxes keep turning themselves off, a managed work computer may be controlled by policy. Ask your IT administrator.
- Wavy underlines also disappear if Word is in Draft view with certain display settings, so switch back to Print Layout to confirm.
Fix 5: Install the Right Language Pack to End the Microsoft Word Spell Check Language Problem
Sometimes the language you need simply is not available for proofing. In the Set Proofing Language dialog, or under File > Options > Language, you may see the words Proofing unavailable next to your language. That means the dictionary is not installed.
- Go to File > Options > Language.
- Under Office authoring languages and proofing, look at your preferred language.
- If proofing shows as unavailable, click Add a language, choose your language, and install it.
- You may be offered a Language Accessory Pack download from Microsoft. Install it and restart Word.
- Return to Review > Language > Set Proofing Language and confirm your language is now listed above the double line, which means proofing is available.
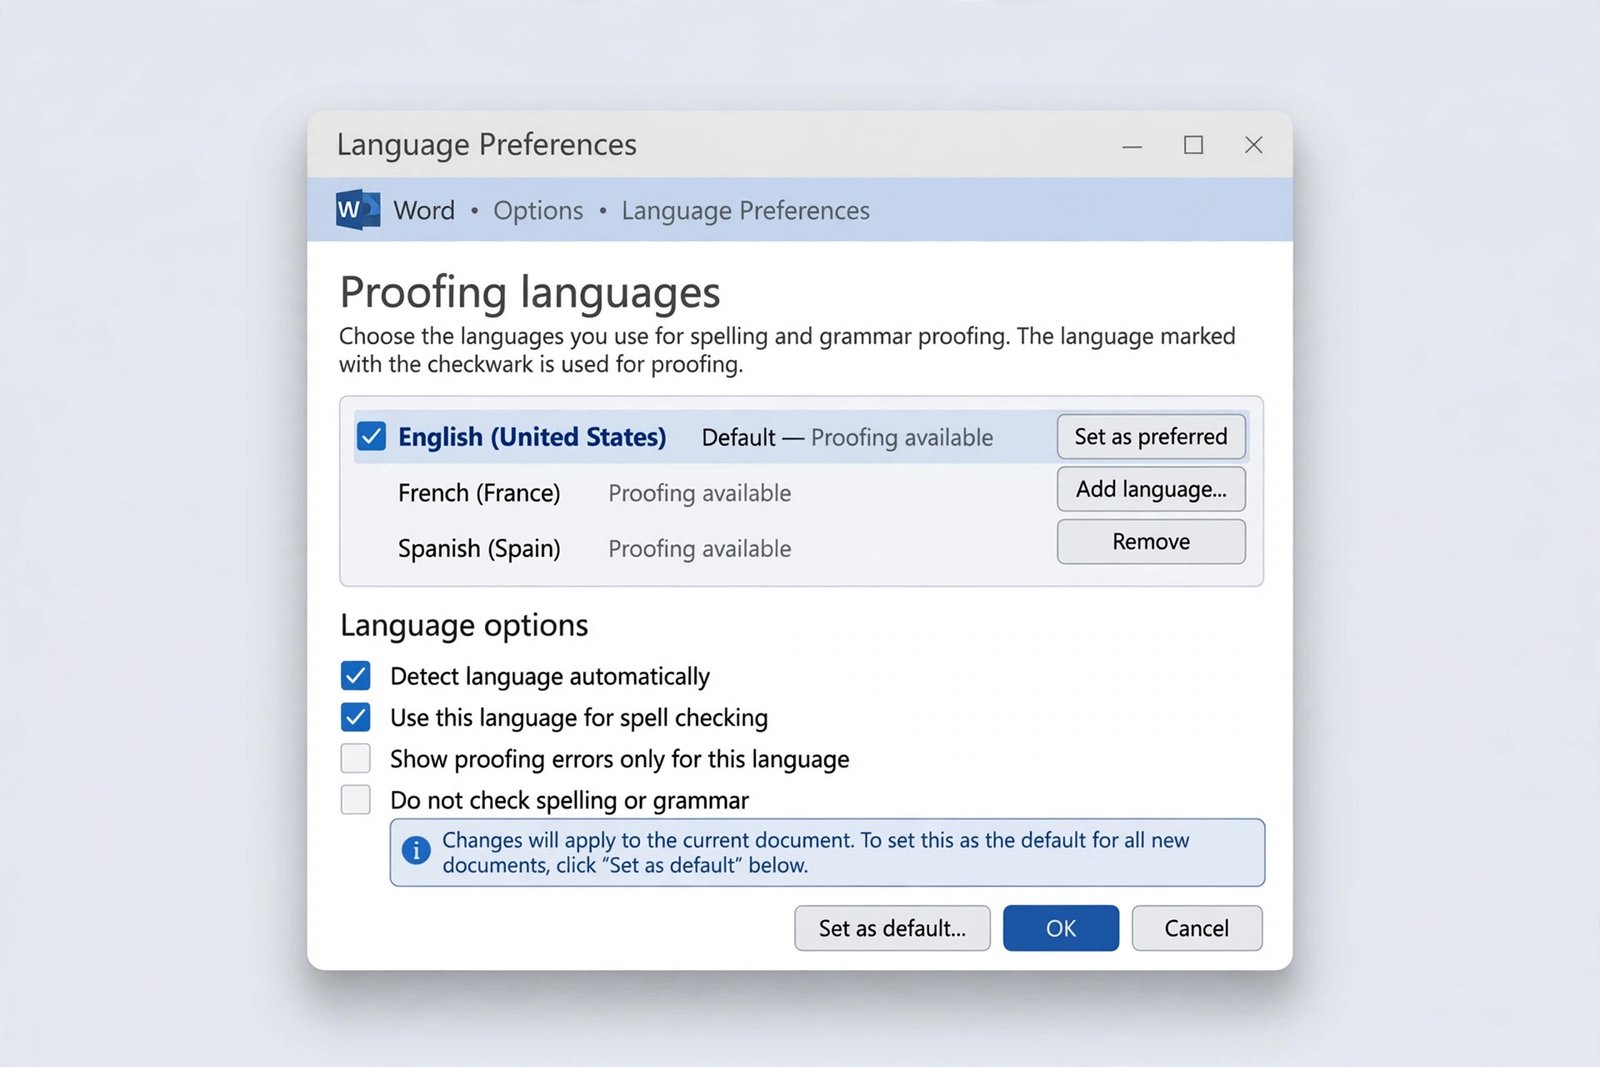
- Only languages installed with proofing tools can be used for spell checking. Display language alone is not enough.
- After installing a pack, reopen the document and reapply the language with Fix 1, because text tagged earlier stays tagged with the old setting.
- On work computers, installing language packs may need administrator approval.
Fix 6: Check Your Custom Dictionary for Wrongly Added Words
Your custom dictionary stores words you told Word to ignore. A wrong word added by accident, or a correct word added while the wrong language was active, produces strange results: one word is never flagged, or a misspelling keeps slipping through.
- Go to File > Options > Proofing.
- Click Custom Dictionaries.
- Select your dictionary (usually RoamingCustom.dic or Custom.dic) and click Edit Word List.
- Scroll through the list and look for words that do not belong there.
- Select any wrong entry and click Delete, then OK.
- If a correctly spelled word keeps getting flagged, add it properly here: type it in the Word(s) box and click Add.

- Each language can use its own dictionary. Make sure the dictionary language matches the text language.
- A dictionary entry added under the wrong language only protects the word in that language.
- If the list is very long and messy, rename the dictionary file to start fresh. Word creates a new empty one on next launch.
Fix 7: Remove the “Do Not Check” Exceptions in Proofing Options
Word has document-level exceptions that hide spelling and grammar errors. They sit quietly in the Proofing options and are easy to forget.
- Go to File > Options > Proofing.
- Scroll to the bottom, to the Exceptions for section.
- Look at Hide spelling errors in this document only and Hide grammar errors in this document only.
- Clear both checkboxes.
- Click OK.
- Misspellings that were hidden should now show their red underlines.
- These exceptions apply to the current document only, which is why a new document checks fine while the old one does not.
- They are often set accidentally when someone right-clicks an underlined word and chooses to ignore issues document-wide.
- If the checkboxes are greyed out, the document may be protected. Unprotect it first under Review > Restrict Editing.
Fix 8: Match Your Keyboard Language to Your Document Language
Windows can switch your keyboard input language independently of Word. When the keyboard language changes mid-sentence, Word may tag the new text with that language and check it with the wrong dictionary.
- Look at the taskbar in the bottom-right corner of Windows. The language indicator shows your current input language, such as ENG.
- Click it and switch back to the language your document is written in.
- In Word, go to Review > Language > Set Proofing Language.
- Tick or untick Detect language automatically based on what worked in Fix 3, then set the language manually for the affected paragraphs.
- If the keyboard keeps switching on its own, remove input languages you do not use under Windows Settings > Time & language > Language.
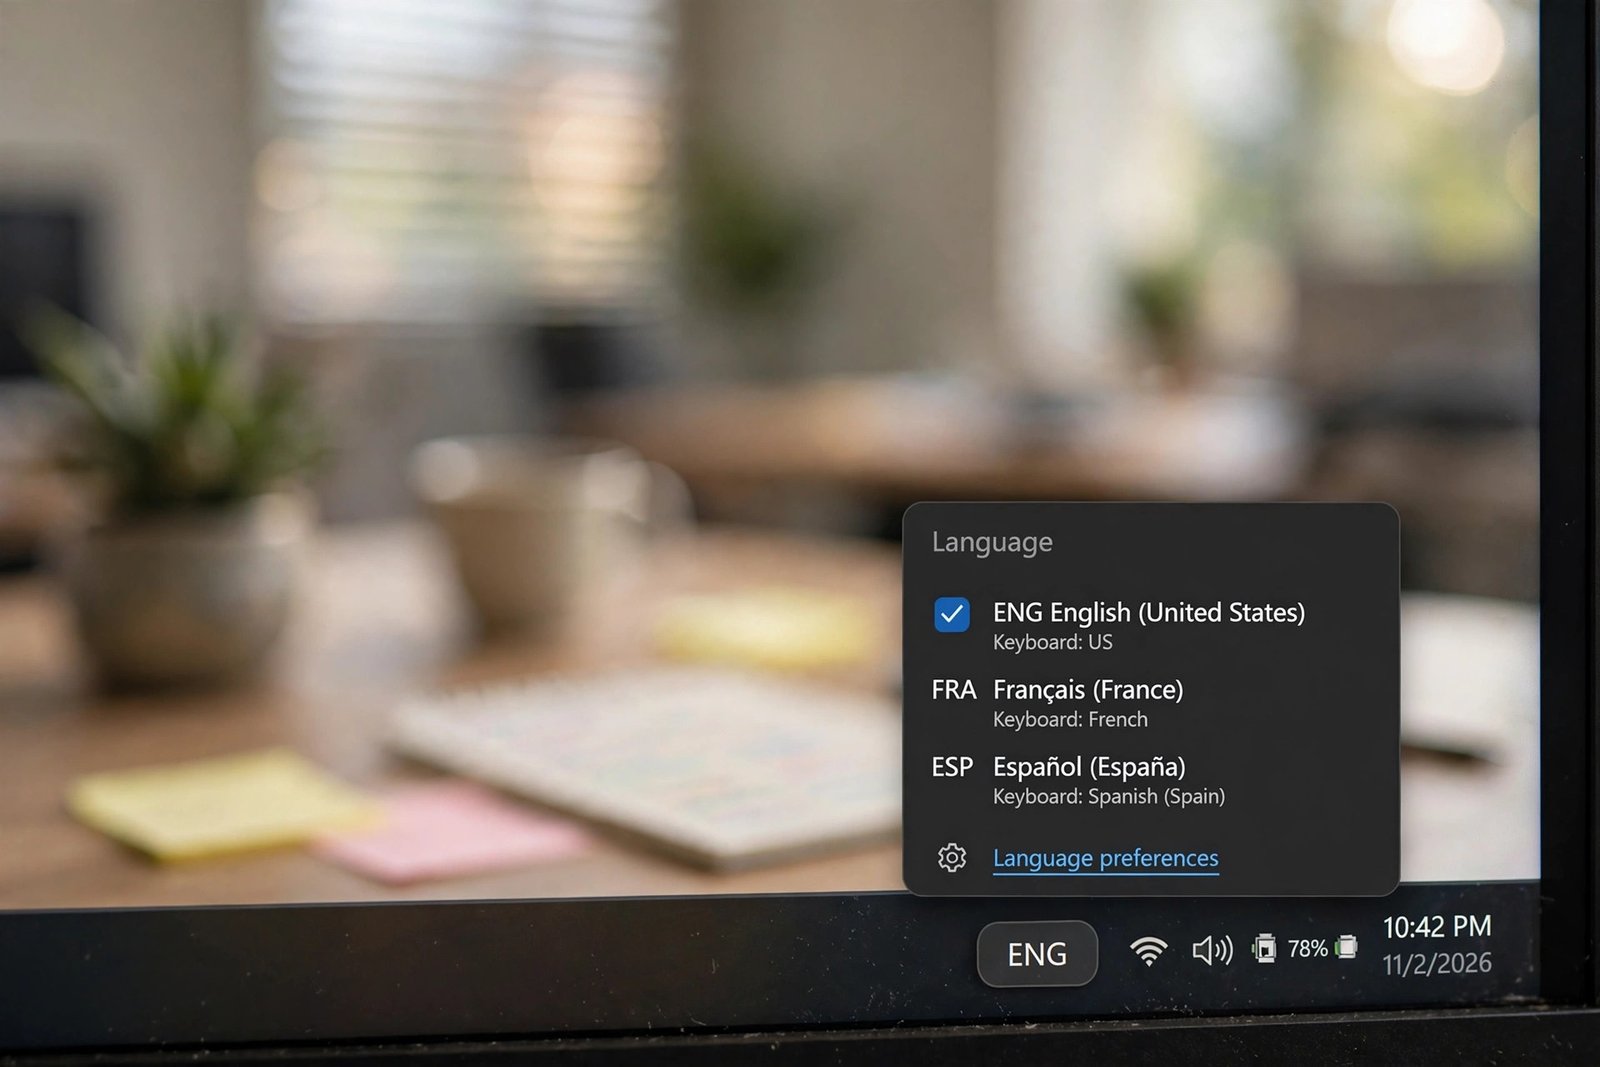
- The shortcut Left Alt + Shift switches input languages, and it is easy to press by accident while typing.
- Automatically switch keyboard to match language of surrounding text is a Word setting that can cause this. Find it under File > Options > Advanced and turn it off if it misbehaves.
- If you genuinely type in two languages, keep both keyboards installed but set each paragraph’s proofing language by hand.
Fix 9: Run a Full Manual Spell Check and Repair Office
If every setting looks right and the problem persists, force a complete recheck and, as a last resort, repair the Office installation.
- Select all text with Ctrl + A.
- Set the proofing language manually one more time with Review > Language > Set Proofing Language, clearing Do not check spelling or grammar.
- Press F7 to run the full spelling and grammar check from the top of the document.
- Work through each suggestion instead of clicking Ignore All, so no error is skipped silently.
- If the checker still misbehaves, close Word completely.
- Open Windows Settings > Apps > Installed apps, find Microsoft 365 or Microsoft Office, choose Modify, and run a Quick Repair. Use Online Repair if the quick one does not help.
- Reopen Word and test in a new blank document first.
- A repair reinstalls damaged proofing components without touching your documents.
- Sign back in to your Microsoft account after a repair if Editor features ask for it.
- If the issue affects only one document, copy its content into a fresh file instead of repairing Office. Paste as plain text first, then reapply formatting, to leave corrupt language tags behind.
What to Avoid
- Do not download “spell check fixer” tools, activators, or cracked Office copies. They cannot fix a language setting and often install malware.
- Do not click Ignore All during a manual check unless you mean it. Ignored words stay ignored for the whole document.
- Do not add misspelled words to the custom dictionary just to make the red lines go away. That hides real mistakes permanently.
- Do not reinstall Windows for a Word language problem. The cause is inside Word’s proofing settings, not the operating system.
- Do not edit the registry to force language settings unless Microsoft’s own guidance tells you to. A wrong edit can break Office.
- Do not assume the spell checker is broken before checking the proofing language. In most cases the checker works fine and is simply using the wrong dictionary.
Frequently Asked Questions
Why is Word spell checking my English document in another language?
Because the text is tagged with that other language. Word stores a proofing language on every paragraph, and pasted or shared text often carries a foreign tag. Select the text and use Review > Language > Set Proofing Language to tag it with the correct language.
Why are correctly spelled words underlined in red?
The dictionary Word is using does not match the language of your text. This is the heart of the microsoft word spell check language problem. Fix 1 sets the right proofing language, and Fix 5 installs the dictionary if it is missing.
Why is Word not flagging any misspellings at all?
Either Check spelling as you type is off (Fix 4), the text is exempted with Do not check spelling or grammar (Fix 2), or document-level exceptions are hiding errors (Fix 7). Check all three in order.
How do I change the spell check language for the whole document at once?
Press Ctrl + A to select everything, then Review > Language > Set Proofing Language, pick your language, and click OK. For a permanent default, change the Normal style’s language too, so new documents start correctly.
What does “Proofing unavailable” mean next to my language?
It means the spelling dictionary for that language is not installed. Add it under File > Options > Language or install the Language Accessory Pack from Microsoft, then restart Word.
Can I use two languages in one document?
Yes. Select each language’s text separately and set its own proofing language with Review > Language > Set Proofing Language. You can also turn on Detect language automatically, though manual tagging is more reliable for short paragraphs.
Why does the spell check language keep changing back?
Usually one of three things: pasted text brings its own language tag, the keyboard input language switches while you type, or a style reapplies the old language. Fix the style’s language under Modify Style > Format > Language and check your keyboard indicator.
Will repairing Office delete my documents?
No. A Quick Repair or Online Repair only fixes Office program files and components. Your documents, templates, and most settings stay where they are. Still, save and close everything before you start the repair.
Conclusion
The microsoft word spell check language problem looks alarming but has a simple root: Word is checking your text with the wrong language’s dictionary, or not checking it at all. Set the proofing language on your text, clear the “do not check” boxes, confirm live checking is on, and install any missing language pack. Those four steps resolve the issue for almost everyone. Keep an eye on the language shown in the status bar when you paste text from elsewhere, and you will catch the problem before the red lines multiply.
Helpful Resources
- Fix a Word document you cannot edit
- Find and Replace not working in Microsoft Word
- Word document formatting keeps changing on its own
- Office apps crashing on startup
- Check spelling and grammar in a different language — Microsoft Support
- Troubleshoot checking spelling and grammar in multiple languages — Microsoft Support
[…] you have found the gap. If your spelling checker itself is acting up in a related way, our guide to Microsoft Word spell check language problems covers the language side in more […]
[…] when you want it in the text. If spelling-related settings are also misbehaving, our guide to Microsoft Word spell check language problems explains the language settings in more […]